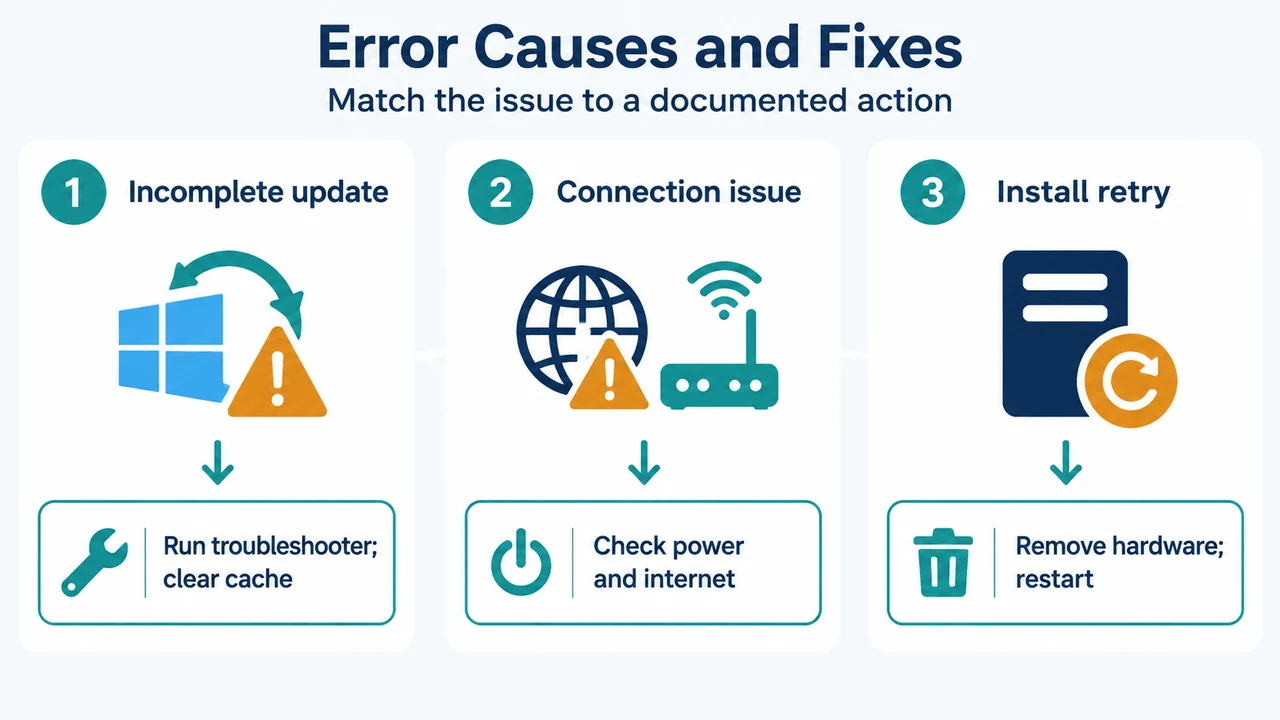
Windows Update error 0x80240034 indicates that an update process is stuck due to an incomplete update or connection issue. According to Microsoft’s troubleshooting documentation, resolving update issues on Windows 11 involves running the automated troubleshooter, confirming power and connectivity, verifying administrator permissions, disconnecting nonessential hardware, and clearing the update cache.
Understanding Error 0x80240034
Microsoft’s documentation lists error code 0x80240034 under common Windows Update problems with the cause: “Update process is stuck due to an incomplete update or connection issue.”
Step 1: Run the Windows Update Troubleshooter
Use the built-in diagnostic utility to detect and address update issues in Windows 11:
- Select Start > Settings > System.
- Select Troubleshoot and choose Other troubleshooters.
- Locate Windows Update and select Run.
- Follow the on-screen instructions to complete the process.
Step 2: Verify Power and Internet Connection
Ensure your device is properly plugged into a power source and connected to the internet:
- Select Start > Settings > Network & Internet > Wi-Fi.
- Verify your network status. If disconnected, reconnect to your Wi-Fi or Ethernet network.
Step 3: Make Sure You Have Administrator Access
Some updates require administrator access. If your account does not have administrator access, ask someone else who has an administrator account on the device to install the updates, or refer to instructions on creating a local user or administrator account in Windows.
Step 4: Disconnect External Hardware
Remove any external storage devices and drives, docks, and other hardware plugged into your device that are not needed for basic functionality. After disconnecting them, try running updates again.
Step 5: Clear the Windows Update Cache
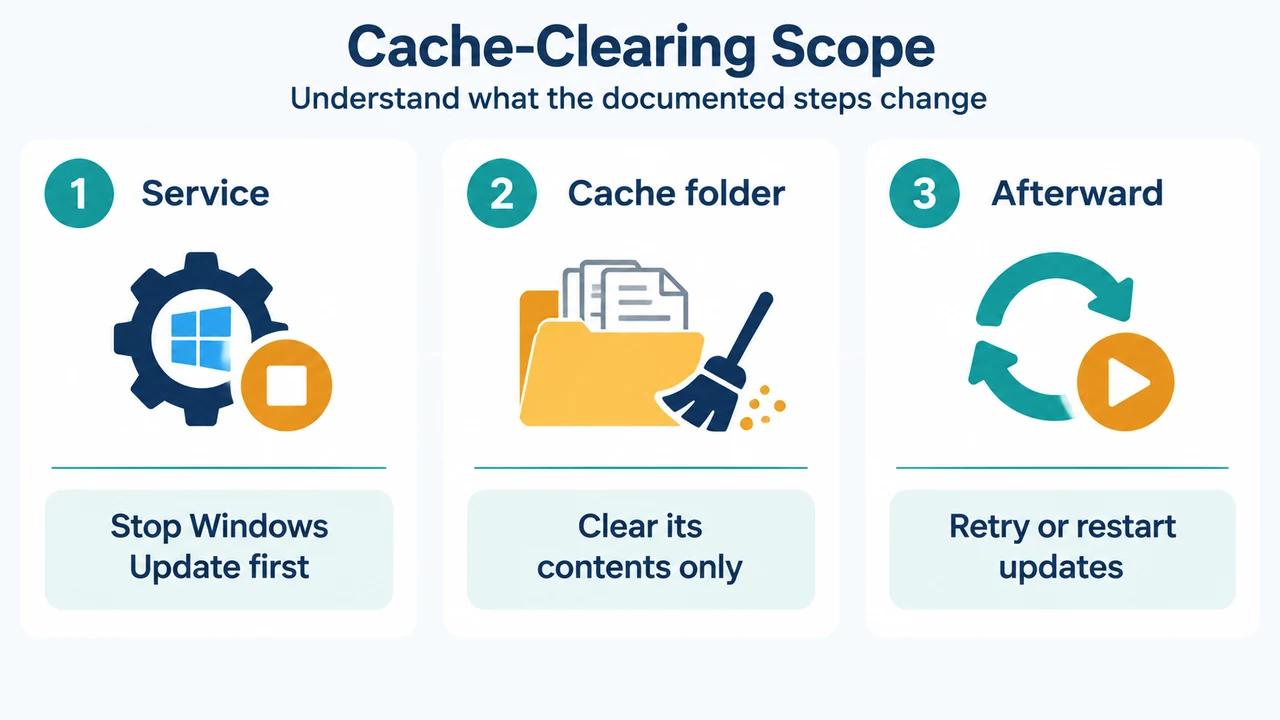
Corrupt files in the cache can cause update errors. Clear the cache using the documented sequence:
- Press Win + R, type
services.msc, and press Enter. - Locate the Windows Update service, right-click it, and select Stop.
- Navigate to
C:\Windows\SoftwareDistribution. - Delete all files and folders inside this directory.
Step 6: Restart to Apply Updates
Many updates require restarting the device. Save your work, close all open applications, select Start > Power, and choose either Update and restart or Update and shut down.
Research Method and Limitations
This troubleshooting guide was prepared strictly from visible excerpts of Microsoft’s official Windows Update troubleshooting documentation. No hands-on testing, benchmarks, or independent repair trials were conducted. Competing coverage was unavailable for comparison during preparation. The underlying documentation was provided in truncated excerpt form, and specific resolution steps linked to other individual error codes in unseen sections of the source cannot be verified.
Text version of the diagrams
- Error Causes and Fixes: Incomplete update — Run troubleshooter; clear cache; Connection issue — Check power and internet; Install retry — Remove hardware; restart
- Cache-Clearing Scope: Service — Stop Windows Update first; Cache folder — Clear its contents only; Afterward — Retry or restart updates