Dev Drive is a storage volume feature introduced in Windows 11 designed to improve file system performance for development workloads. Instead of standard NTFS, Dev Drive uses the Resilient File System (ReFS) alongside optimized file system settings and file system filter policies. However, creating and using a Dev Drive requires meeting specific system prerequisites, understanding formatting trade-offs, and managing configuration limits.
Research Method and Evidence Limitations
This guide was prepared exclusively from publicly available technical documentation provided by Microsoft (Microsoft Learn: Set up a Dev Drive on Windows 11). It makes no claims of lab testing, synthetic benchmarking, or hands-on performance measurements. No external competitor pages were accessible during evaluation. Factual statements reflect only the verified visible primary documentation, and coverage is strictly limited to the documented settings and constraints supported by Windows 11.
System Prerequisites and Requirements
Before attempting to create a Dev Drive, verify that your computer meets the documented system requirements:
- Operating System: Windows 11, Build #10.0.22621.2338 or later. Note that when updating to the latest Windows 11 release, an additional system reboot may be required before the Dev Drive feature appears in Settings.
- Windows Edition (SKU): Dev Drives are available across all Windows SKU versions.
- Account Privileges: Local administrator permissions are required. In business or enterprise environments, Group Policy settings govern Dev Drive, and a security administrator must configure the Dev Drive security policy to enable its creation.
- Memory: Minimum of 8 GB RAM, with 16 GB recommended.
- Disk Capacity: At least 50 GB of free storage space. 50 GB is the minimum supported size for any Dev Drive volume.
Intended Workloads vs. Unsupported Scenarios
Dev Drive utilizes ReFS optimizations, including Block Cloning (supported beginning in Windows 11 version 24H2 and Windows Server 2025). Block cloning executes byte-range copies as low-cost metadata operations rather than performing full read and write cycles to physical storage. This reduces storage I/O and speeds up copy actions when files share logical clusters.
Dev Drive is specifically intended to host:
- Source code repositories and project directories
- Package caches (such as package manager directories)
- Build outputs and intermediate compilation artifacts
Before installing developer tools or SDKs directly onto a Dev Drive, assess security requirements. Developer tools are conventionally placed in administrator or per-user paths with standard security and isolation guarantees that interact with Microsoft Defender scanning.
Documented Constraints and Unsupported Setups
- No In-Place Conversion: Existing storage volumes cannot be converted into a Dev Drive. The Dev Drive designation can only occur during initial formatting. Reformatting an existing volume to become a Dev Drive will destroy all existing data on that volume.
- No Portability Across Machines: If you host a Dev Drive inside a Virtual Hard Disk (VHD or VHDX) on a fixed disk, copying or moving the VHD file to another machine and continuing to use it as a Dev Drive is not recommended. The Dev Drive designation, trust status, and filter policies are tied per-machine and do not migrate with the virtual disk file.
- WSL Metadata Incompatibility: Windows Subsystem for Linux (WSL) runs inside its own virtual disk, and Linux files perform best within the Linux native file system. WSL is outside the Windows file system scope, so opening Windows Dev Drive project files from a WSL Linux distribution does not yield performance gains. Crucially, the WSL
metadatamount option—which stores Linux file permissions and ownership via extended attributes—is not supported on ReFS volumes. If your workflow requires preserving Linux file permissions on Windows files, keep those files on standard NTFS or inside the WSL virtual disk.
Methods to Create a Dev Drive
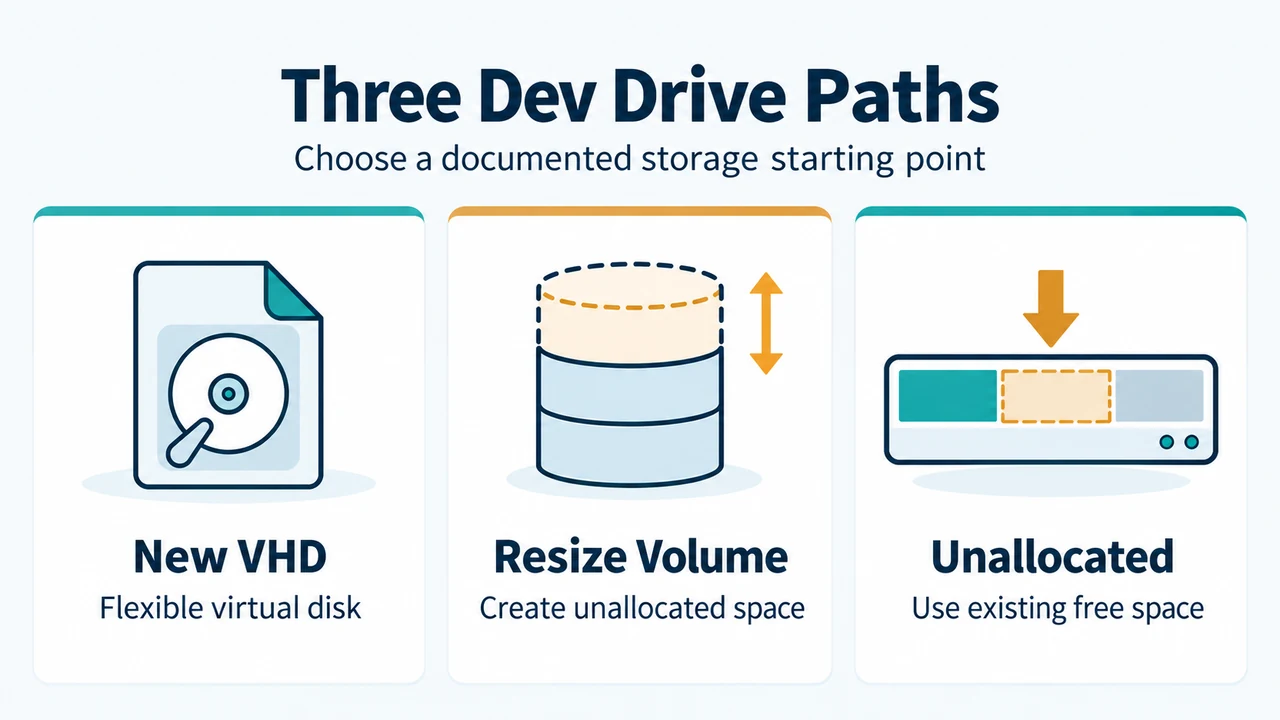
To configure a new Dev Drive, open Windows Settings and navigate to System > Storage > Advanced Storage Settings > Disks & volumes, then select Create dev drive. Windows presents three setup paths:
Option 1: Create a New Virtual Hard Disk (VHD / VHDX)
Creating a Dev Drive inside a virtual disk file allows you to allocate space on an existing drive without modifying physical disk partitions:
- Specify the storage location for the virtual disk file. The default location is
C:\, but Microsoft recommends selecting a per-user directory path to prevent unintentional sharing between user accounts. - Specify the virtual disk size, ensuring an allocation of at least 50 GB.
- Select the virtual hard disk format:
- VHD: Supports virtual disks up to 2040 GB.
- VHDX (Recommended): Supports virtual disks up to 64 TB and provides enhanced resiliency against unexpected I/O failures, such as sudden power loss.
- Select the disk type:
- Dynamically expanding (Recommended): The file grows dynamically toward its maximum capacity as data is written.
- Fixed size: The file allocates its full configured capacity immediately upon creation.
- Complete the wizard to initialize and format the Dev Drive volume.
Option 2: Resize an Existing Volume
If you have an existing partition with surplus free space:
- In Disks & volumes, select an existing volume to shrink.
- Shrink the volume by at least 50 GB to create sufficient unallocated disk space.
- Specify the Dev Drive Label, assign a Drive Letter, and confirm the size allocation (minimum 50 GB).
- Format the newly carved unallocated space as a Dev Drive.
Option 3: Use Existing Unallocated Disk Space
If your physical drive already contains unpartitioned space:
- Navigate to System > Storage > Advanced Storage Settings > Disks & volumes.
- Locate the section labeled Unallocated on your physical disk.
- Select Create volume, then choose Create Dev Drive (rather than Create Simple Volume, which formats standard NTFS).
- Configure the drive label, letter, and allocation size (minimum 50 GB).
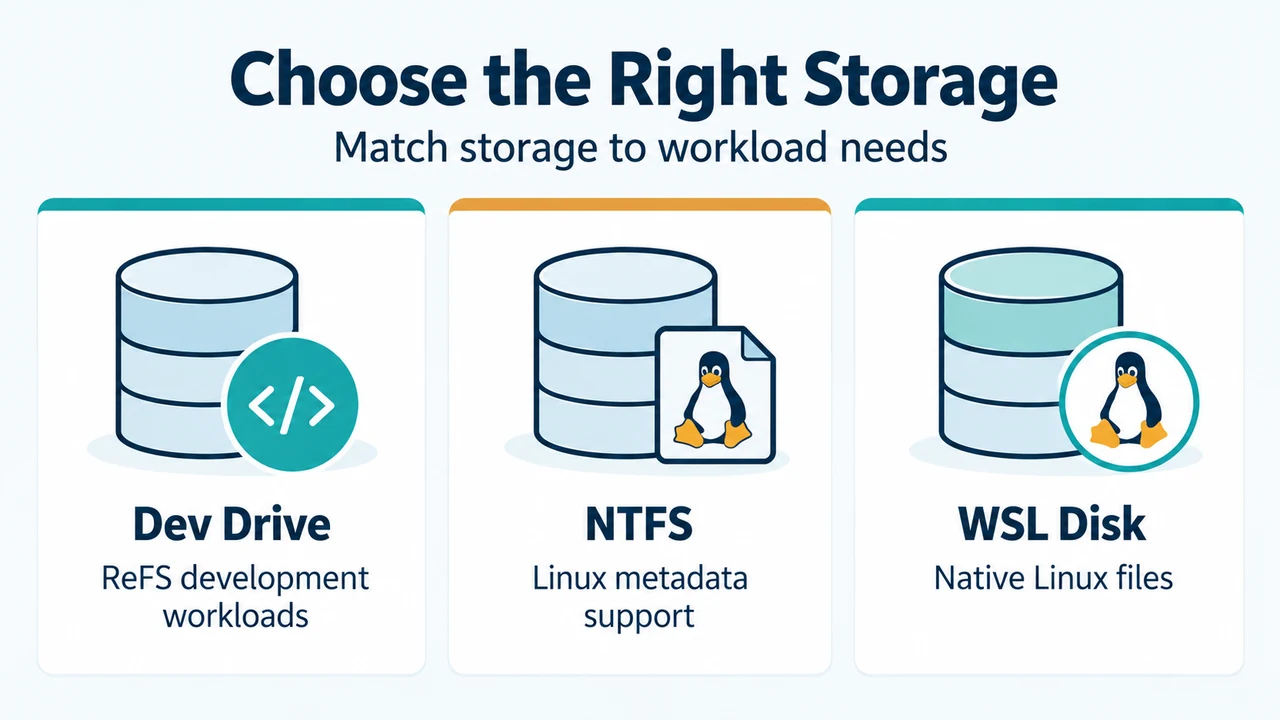
Text version of the diagrams
- Three Dev Drive Paths: New VHD — Flexible virtual disk; Resize Volume — Create unallocated space; Unallocated — Use existing free space
- Choose the Right Storage: Dev Drive — ReFS development workloads; NTFS — Linux metadata support; WSL Disk — Native Linux files
Encryption, Backup, and Troubleshooting
BitLocker Drive Encryption
When hosting a Dev Drive inside a VHD or VHDX file on a fixed drive that has BitLocker enabled, the virtual disk file is automatically encrypted by the hosting drive’s BitLocker protection. You do not need to enable BitLocker separately inside the mounted virtual drive.
Backing Up a Dev Drive
For a VHD- or VHDX-based Dev Drive, the underlying disk image file (.vhd or .vhdx) can be copied and backed up like a standard file to external storage, network shares, or cloud backup solutions.
File System Filters and Live Unit Testing Configuration
Dev Drive enforces strict file system filter policies to maintain performance. When developer tools depend on specialized file system mini-filters, those filters must be explicitly permitted:
- Live Unit Testing in Visual Studio: Live Unit Testing requires the Windows Projected File System filter (
ProjFS). When locating your Live Unit Testing workspace root on a Dev Drive, add the filter to the allowed list by running PowerShell as an administrator:fsutil devdrv setfiltersallowed PrjFlt - Process Monitor Diagnostics: When diagnosing file system interactions using Process Monitor, verify active filters by running:
fltmc filtersIdentify the exact filter name associated with your installed Process Monitor version (such as
ProcMon24) before inspecting Dev Drive file activity. Remove diagnostic filters individually once troubleshooting is complete.