If your microphone is not working in a call, start by finding where the signal stops. A microphone can be connected and visible to Windows while the app is listening to a different input. A browser can also be allowed in Windows while the individual site is blocked. Testing those layers in order is faster and safer than changing drivers or registry settings at random.
What this guide covers
This is a Windows 11, research-based guide reviewed on 14 September 2026. Windows labels can vary by build, device maker, language, and managed-device policy. The checks are reversible and do not require registry edits, third-party driver tools, or routine driver removal. They apply to built-in microphones, USB microphones, headsets, webcams with microphones, and Bluetooth headsets, although the exact controls differ by hardware.
The four layers to separate
Think of the path as four questions:
- Hardware and mute: Is the microphone connected, powered, unmuted, and selected on the headset or keyboard?
- Windows input: Does Windows list the device and show a changing level when you speak?
- App choice and permission: Is the affected app allowed to use a microphone and set to the same device?
- Browser site permission: If the call is in a browser, has that particular site been allowed?
These are different tests. “Microphone access is on” does not prove that Windows receives a signal, and a Windows result does not prove that a meeting site has permission.
Step 1: remove the simple physical causes
- Check the headset, microphone, webcam, or laptop microphone for a physical mute switch. On some headsets, lifting the boom mutes it; on others, a red light indicates mute.
- Reconnect a USB microphone directly to the computer. If it uses a hub or dock, try the computer’s port temporarily. Check that a Bluetooth headset is connected to this PC rather than only paired with a phone.
- Close a second calling, recording, or streaming app that might have selected the device. Do not assume that an app using the microphone is the cause; this check simply reduces confusion while testing.
Expected result: the device powers on or appears connected, and its mute indicator is off. If the microphone is absent from Windows after these checks, continue to Step 2 to record that symptom. Permissions cannot make a physically disconnected device appear.
Step 2: test the selected microphone in Windows
- Open Settings → System → Sound.
- Under Input, choose the microphone you intend to use. A laptop may show an internal microphone, a webcam microphone, a USB microphone, and one or more Bluetooth profiles.
- Open the selected device’s properties. Under input settings, use Start test, speak normally, then stop the test and play the sample if that control is available.
- If the sample is very quiet, check the input volume control and repeat the short test. Speak at a normal distance rather than directly into the capsule.
Microsoft documents this test and the input-volume check in its microphone troubleshooting guide. The useful result is not a particular percentage; it is whether Windows records a voice sample from the device you selected.
Windows hears you: the hardware path and basic Windows input are working. Go to Step 4 and check the app, then Step 5 if it is a browser call.
The device is listed but the sample is silent: recheck physical mute, input volume, the selected device, and any headset mute control. If another input device is listed, select it and repeat the same test. A silent Windows test means an app permission toggle alone is unlikely to solve the problem.
No input device is listed: check the cable, Bluetooth connection, dock, and device-specific support information. Microsoft’s guide includes later detection and driver steps, but this article does not prescribe an unverified driver-removal sequence. Record the exact device name and whether it appears after reconnecting.
Step 3: check Windows microphone privacy controls
- Open Settings → Privacy & security → Microphone.
- Turn on Microphone access if it is off.
- Turn on Let apps access your microphone where the affected app needs it.
- If the app is a traditional desktop application and does not appear as an individual switch, check Let desktop apps access your microphone. Microsoft says desktop apps are controlled by this shared setting and may not appear as individual entries.
Microsoft explains these layers in its camera, microphone, and privacy guidance. A Store app may have an individual permission entry; a desktop app may instead be covered by the desktop-app switch. The list is not a complete inventory of every process that could touch audio.
Expected result: the relevant Windows access control is on, and the app can request a microphone. If a switch is greyed out, missing, or says an organization manages it, treat that as a policy boundary. Ask the administrator or support team; do not try to bypass it with registry changes.
Step 4: select the same input inside the app
Open the affected app’s audio, voice, or device settings. Confirm that its input is the same microphone that passed the Windows test. Many computers expose similar names, such as “Headset Microphone,” “Microphone Array,” and a webcam microphone. If the app offers an input meter, speak and watch for movement. Check the app’s own mute button, push-to-talk mode, and input sensitivity or automatic-level option.
Use a short test recording, preview, or test call. Avoid recording a private conversation while diagnosing the issue. If another app can use the microphone, that comparison is useful evidence, but it is not a guarantee that every app uses the same audio backend or device profile.
Works in Windows and another app, but not this app: focus on the app’s selected input, mute state, account or meeting settings, and its own permission prompt. Updating the whole operating system is not the first conclusion from an app-only failure.
Fails in Windows and every app: return to the connection, mute, device selection, input volume, and device-specific support path. The evidence points below the app layer.
Step 5: if the problem is a browser call, check the site
A browser is an app, and a website is a separate permission decision. Windows can allow Edge, Chrome, or Firefox to access the microphone while the meeting site remains blocked. Visit the site’s permission control from the address bar and set Microphone to Allow for the intended site, or clear the saved block so the site can ask again. Reload the call after changing a permission.
For Chrome, Google’s camera and microphone instructions explain that a site may ask for permission and that blocked sites can be changed under the browser’s site settings. For Firefox, Mozilla’s microphone-permission guide describes the address-bar permissions panel and the Settings → Privacy & Security → Permissions list. Edge follows the same two-part model described by Microsoft: browser access in Windows plus permission for the individual website.
Expected result: the site shows the intended microphone, its permission is Allow, and the site’s own input indicator moves when you speak. If the browser cannot see any microphone, go back to Steps 2 and 3. If only one site fails, clear or correct that site’s saved permission and check the site’s own call controls.
Use the result to choose the next action
| Result | Most useful next check | What it tells you |
|---|---|---|
| Device missing in Windows | Connection, Bluetooth pairing, another port, manufacturer support | Windows is not presenting a usable input device |
| Device listed, Windows test silent | Hardware mute, input volume, selected device, alternate device | The failure is below the affected app |
| Windows test works, one app fails | App input selection, app mute, Windows privacy access | Windows can receive input; the app path differs |
| Windows and app work, one website fails | Site permission, browser input selection, site call controls | The saved browser or site decision is suspect |
| Controls managed by organization | Administrator or support team | A policy may be enforcing the setting |
Undo a change and keep a small record
Permission changes are easy to reverse: return to Privacy & security → Microphone and restore the previous switch, or return to the browser site-permission panel and choose Block or Ask. Re-select the previous input device in Windows or in the app if you changed it only for testing. No files are deleted by the checks in this guide.
Write down four facts before seeking help: the device name, whether it appears in Windows, whether the Windows sample contains your voice, and whether the failure affects every app or only one app or site. Add the Windows version, PC or headset model, connection type, and any recent update or hardware change. Do not include private recordings, account passwords, or unrelated terminal history.
When to escalate
Use Microsoft’s support route when Windows cannot detect the microphone, when the Windows test stays silent after connection and mute checks, or when a recent update coincides with the failure. Use the microphone or PC maker’s support page when a model-specific Bluetooth profile, dock, firmware, or hardware switch is involved. Ask an administrator when privacy controls are managed. A driver update or reinstall may be appropriate for a confirmed detection problem, but it should follow the device maker’s instructions and a restorable plan rather than being a reflex.
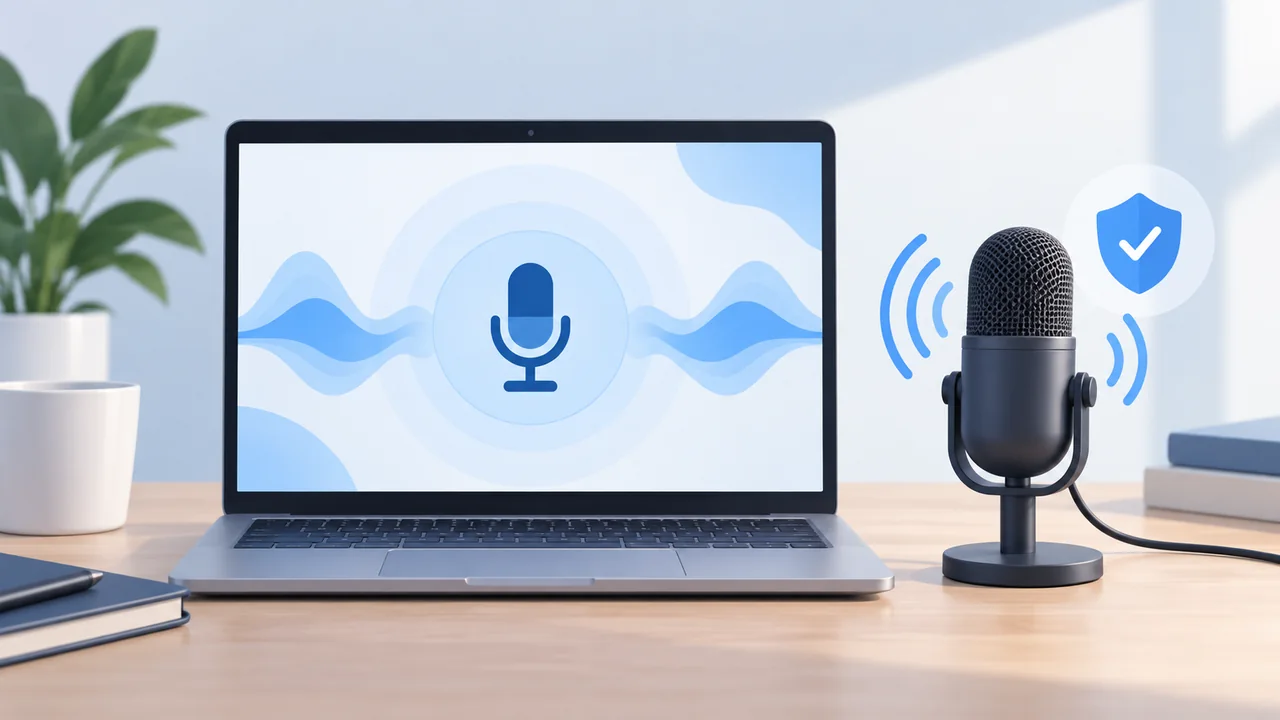
The accompanying image is a ChatGPT-generated conceptual laptop-and-microphone illustration. It is not a real Windows screenshot or test evidence.