Audio issues on a Windows 11 PC can disrupt watching video, attending meetings, or listening to music. When audio issues occur, audio enhancements that are turned on can sometimes cause problems. Disabling these enhancements may resolve the issue.
According to Microsoft support documentation, turning off audio enhancements is a documented troubleshooting step. In Windows 11, this setting is configured through the Settings application. If turning off enhancements does not resolve the issue, Microsoft outlines additional troubleshooting steps, including running the audio troubleshooter, changing audio formats, and restarting Windows audio services.
How to Turn Off Audio Enhancements in Windows 11
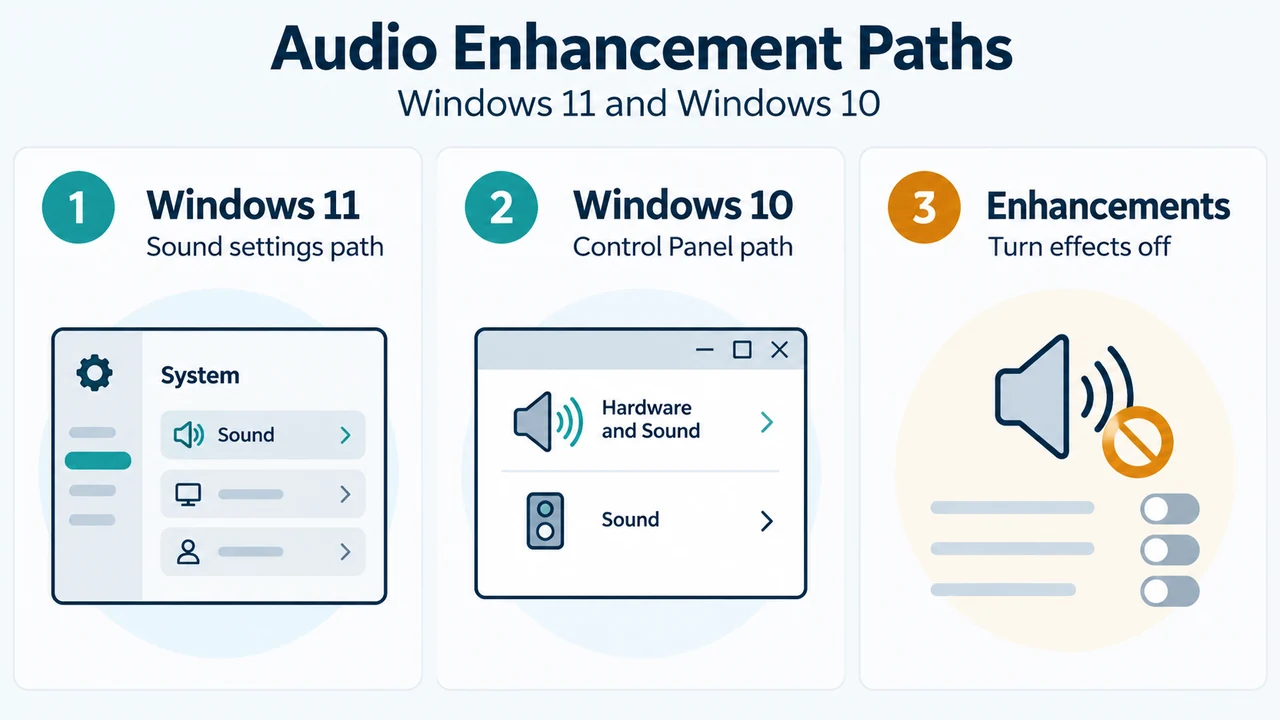
To turn off audio enhancements on Windows 11:
- Select Start > Settings > Sound.
- In the Output section, select the audio device you are using (such as your speakers or headphones).
- On the page that opens, scroll to Advanced settings.
- Set Audio enhancements to Off from the dropdown menu.
After changing this setting, test your audio device to check if the issue is resolved.
Next Troubleshooting Steps if the Issue Persists
If turning off audio enhancements does not help, Microsoft documents further troubleshooting procedures:
1. Run the Audio Troubleshooter
- Select Start > Settings > System.
- Scroll down and select Troubleshoot > Other troubleshooters.
- Go to the Audio section and click the Run button to start the audio troubleshooter.
2. Try Different Audio Formats
- In the search box on the taskbar, type
control panel, and then select it from the results. - Select Hardware and Sound from the Control Panel, and then select Sound.
- On the Playback tab, select and hold (or right-click) Default Device, and then select Properties.
- On the Advanced tab, under Default Format, change the setting, select OK, and then test your audio device.
- If that does not work, try changing the setting again.
3. Restart Windows Audio Services
- In the search box on the taskbar, type
services, and then select it from the results. - Select each of the following services, select and hold (or right-click), select Restart, and then select Yes:
- Windows Audio
- Windows Audio Endpoint Builder
- Remote Procedure Call (RPC)
Research Method and Limitations
This guide was prepared directly from the supplied public support documentation published by Microsoft (“Fix sound or audio problems in Windows”). It covers only the verified Windows 11 procedures present in the provided excerpt. Material limitations include reliance on truncated source excerpts and the absence of accessible competing coverage. Specific audio format options, manufacturer-specific driver interfaces, and unlisted troubleshooting stages are omitted because they were not detailed in the visible text.
Text version of the diagrams
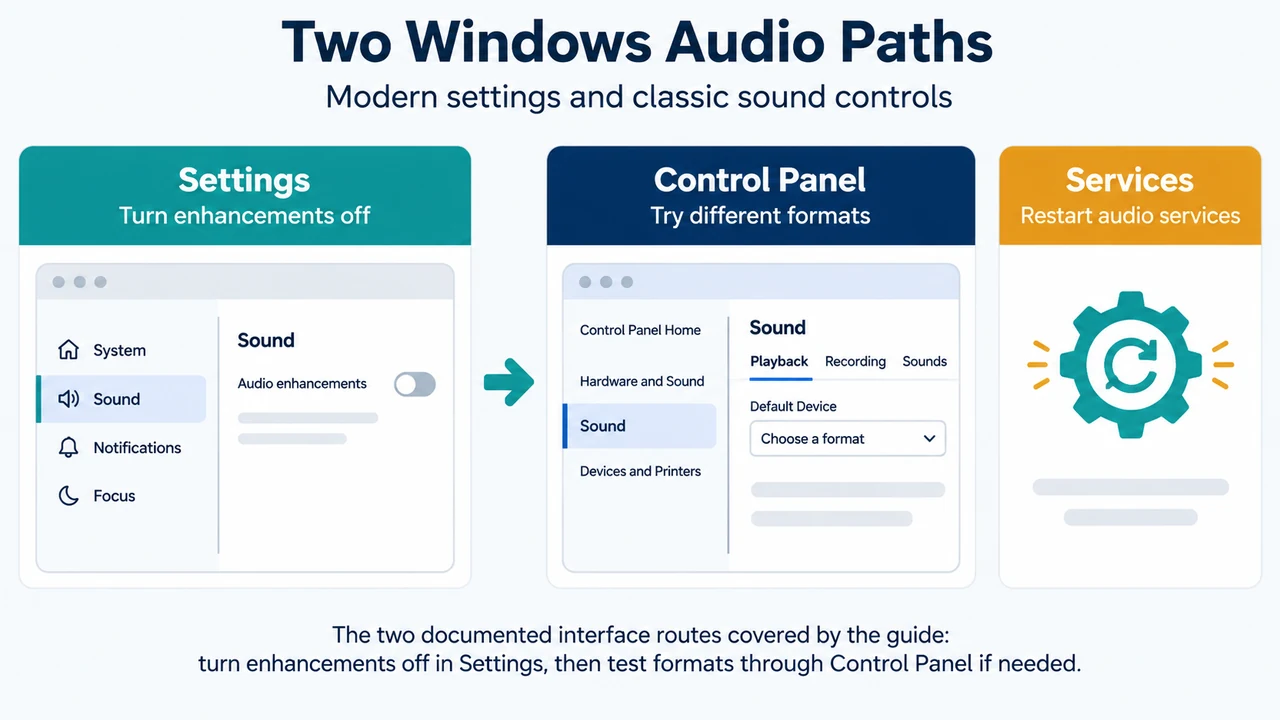
- Two Windows Audio Paths: Settings — Turn enhancements off; Control Panel — Try different formats; Services — Restart audio services
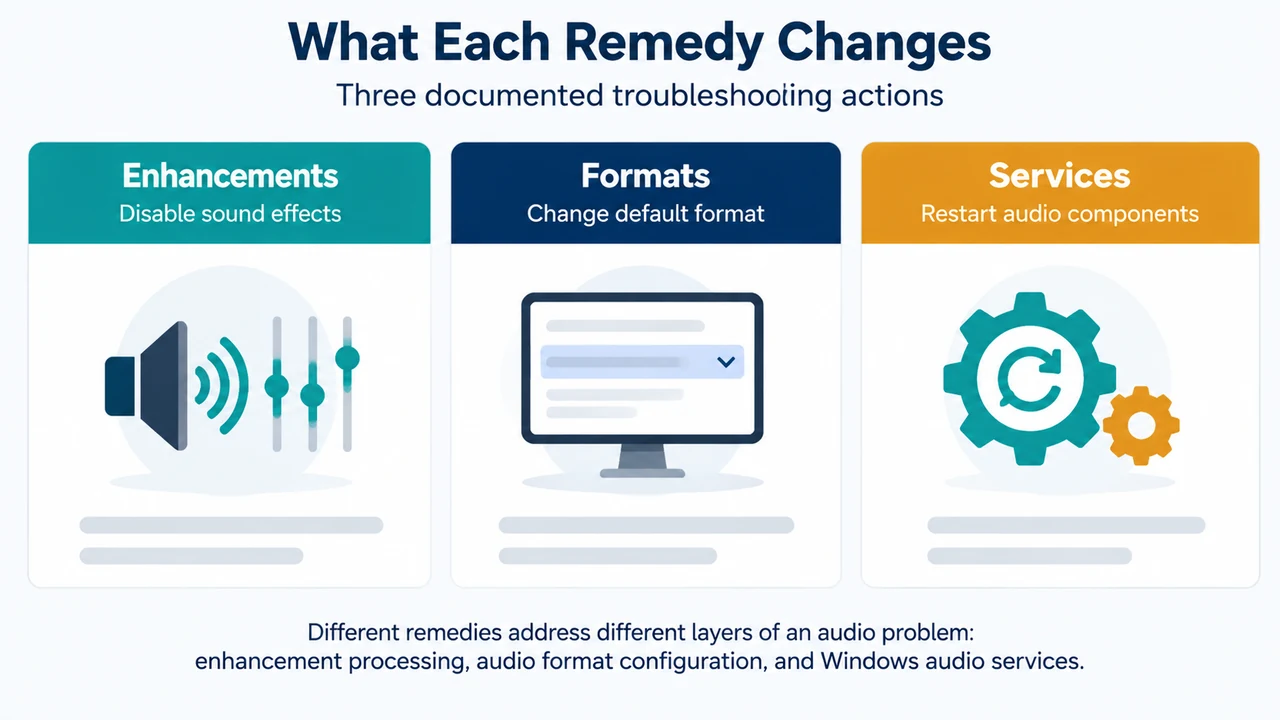
- What Each Remedy Changes: Enhancements — Disable sound effects; Formats — Change default format; Services — Restart audio components