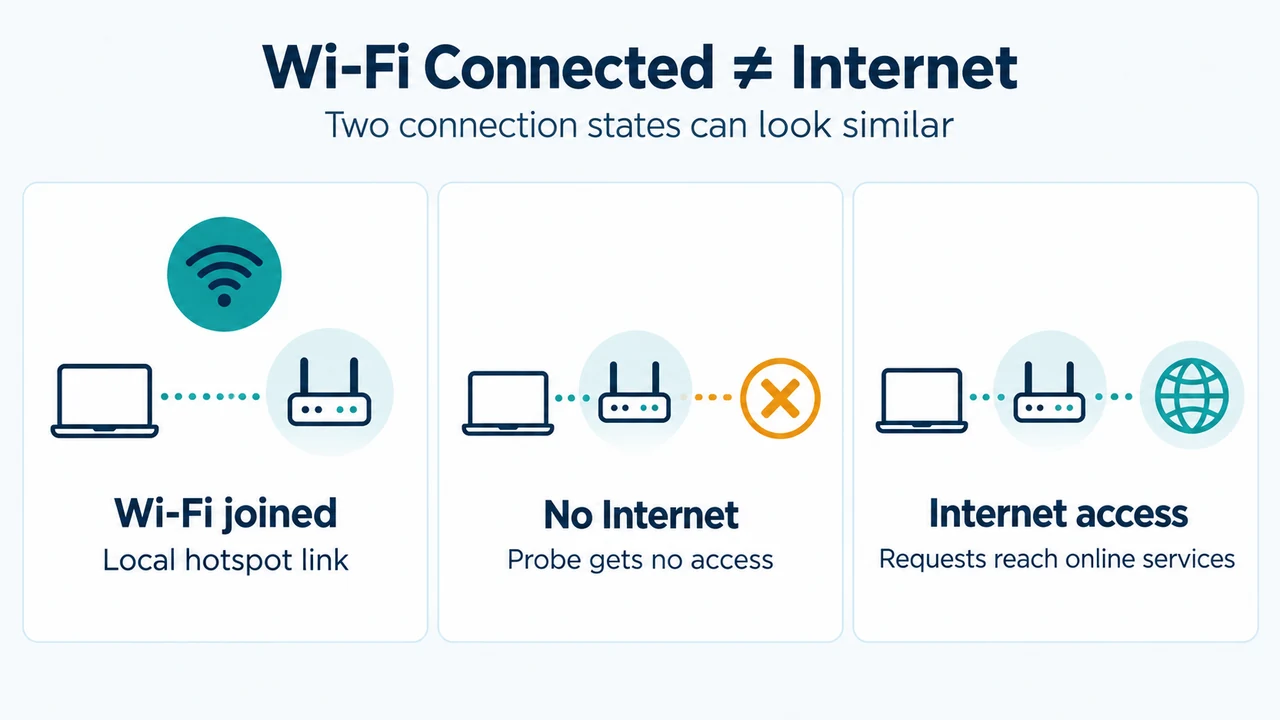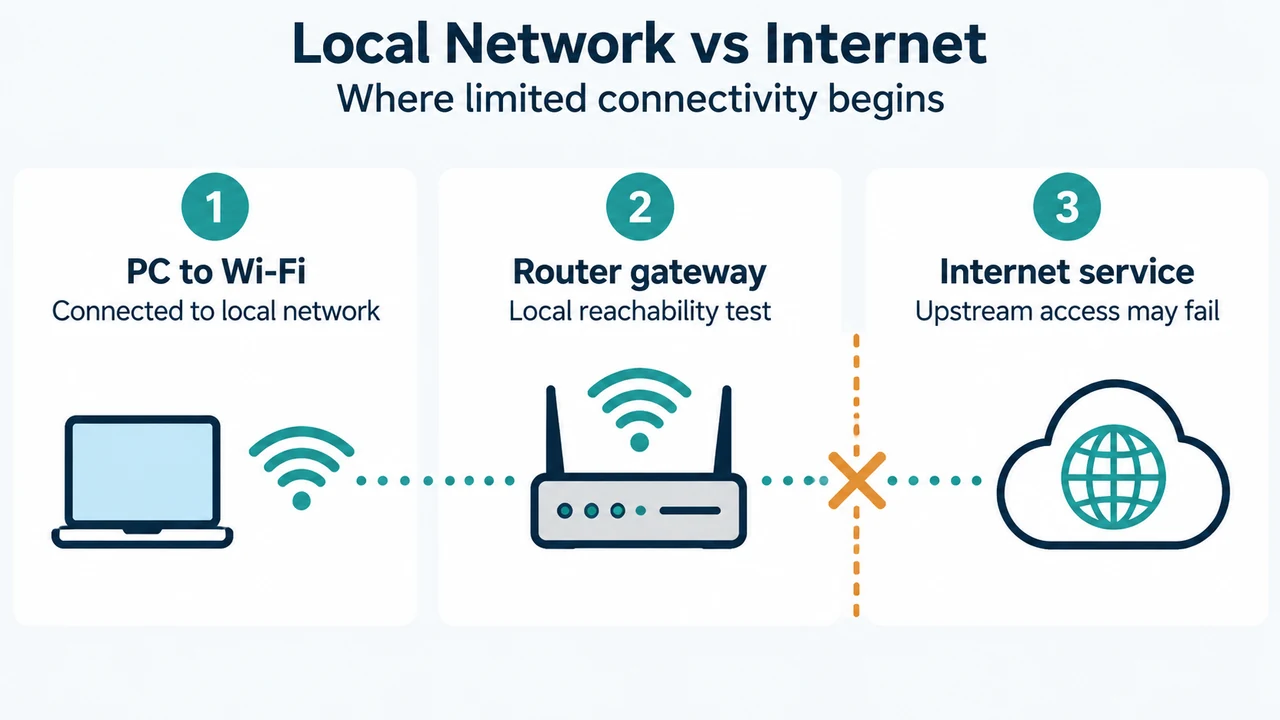
When Windows connects to your local Wi-Fi network but shows No Internet under the network name, your PC is connected to the local network without reaching the internet. According to Microsoft Support documentation for Windows 10 and Windows 11, Windows identifies this limited connectivity state by sending a small HTTP request to a server on the internet; if no reply is received, the No Internet icon and status appear.
Initial Quick Checks and Isolation
Before changing system settings, perform the initial checks documented by Microsoft for Windows 10 and Windows 11:
- Toggle Wi-Fi: Turn off Wi-Fi, turn it back on, and reconnect to your wireless network.
- Test another device: Try connecting a separate phone or laptop to the same network. If the second device connects, the issue is likely on your PC.
- Switch frequency bands: Many routers broadcast separate 2.4 GHz and 5 GHz frequency bands. If both appear in your available networks list, try connecting to the other band.
Renewing IP Configuration and Flushing DNS
You can release and renew your IP lease and clear DNS records from an administrative Command Prompt:
- Select Search on the taskbar, type
command prompt, and next to the result select Run as administrator > Yes. - Release the current IP address:
ipconfig /release - Request a new IP address:
ipconfig /renew - Clear the DNS resolver cache:
ipconfig /flushdns
If you are not using static IP addresses on your network, check your router’s documentation to verify that DHCP is enabled. If enabling DHCP resolves the issue, the No connection icon changes to Wi-Fi connected within a few seconds.
Testing the Router Gateway and Interpreting Modem/ISP Issues
To determine whether communication is failing at your local router or further upstream, ping your default gateway:
- Open Command Prompt as Administrator.
- Type
ipconfigand press Enter. - Find your Wi-Fi network in the output and locate the IP address listed next to Default gateway (such as
192.168.1.1). - Ping that address:
ping 192.168.1.1
If you receive normal replies with zero packet loss, your PC can reach the Wi-Fi router. In that situation, Microsoft notes the issue is likely with your modem or Internet service provider (ISP), and recommends contacting your ISP or checking another device for an outage.
Verifying and Pinging the DNS Server
If your PC has an IP address but cannot resolve internet locations, verify communication with your assigned DNS server:
- In Command Prompt as Administrator, find your DNS server address:
ipconfig /all | findstr /c:"DNS Servers" - Note the displayed DNS server IP address.
- Send diagnostic packets to that address:
ping [DNS server address] - If you have a valid IP address but cannot ping your DNS server, Microsoft notes you can change your DNS server to an alternative public address and test again.
Resetting the Network Stack
If limited connectivity remains, run the manual network reset commands in the exact order documented by Microsoft:
- Open Command Prompt as Administrator.
- Reset the Winsock catalog:
netsh winsock reset - Reset the TCP/IP stack:
netsh int ip reset - Release the IP address:
ipconfig /release - Renew the IP address:
ipconfig /renew - Flush the DNS cache:
ipconfig /flushdns - Check if your connection is restored.
Managing Services and Adapter Power Settings
If the Wi-Fi connection drops or fails to stay associated, Microsoft documents these service and power checks:
- Restart WLAN Service: Press
Win + R, typeservices.msc, press Enter, right-click WLAN AutoConfig, and select Restart. - Disable Power Saving for Wi-Fi Adapter: Open Device Manager, expand Network adapters, right-click your Wi-Fi adapter, and select Properties. On the Power Management tab, uncheck Allow the computer to turn off this device to save power.
Driver Reinstallation and Network Reset
When prior steps do not restore full access, reinstall the wireless adapter driver or perform a network reset.
Reinstalling the Network Adapter Driver
- Ensure you have backup drivers available before uninstalling.
- Open Device Manager, expand Network adapters, right-click your Wi-Fi adapter, and select uninstall.
- Select Start > Power > Restart. Windows will look for and install the adapter driver automatically. If it does not, install your saved backup driver.
Windows Network Reset
Network reset is documented by Microsoft as a last-resort step that removes installed network adapters and restores default network settings. You may need to reinstall VPN clients or virtual switches (such as Hyper-V) afterward.
- Select Start > Settings > Network & internet.
- On Windows 11, select Advanced network settings > Network reset. On Windows 10, select Status > Network reset.
- Select Reset now > Yes to confirm.
- Wait for your PC to restart and check your connection.
Research Method and Limitations
This answer was prepared strictly from the supplied public source excerpt from Microsoft Support’s documentation for Windows 10 and Windows 11. Material limitations apply: passages in the supplied excerpt were truncated, no accessible competing coverage was available, and no live operating system or hardware testing was conducted. Technical guidance is limited to the visible diagnostic commands, UI sequences, and router interpretations in the provided text.
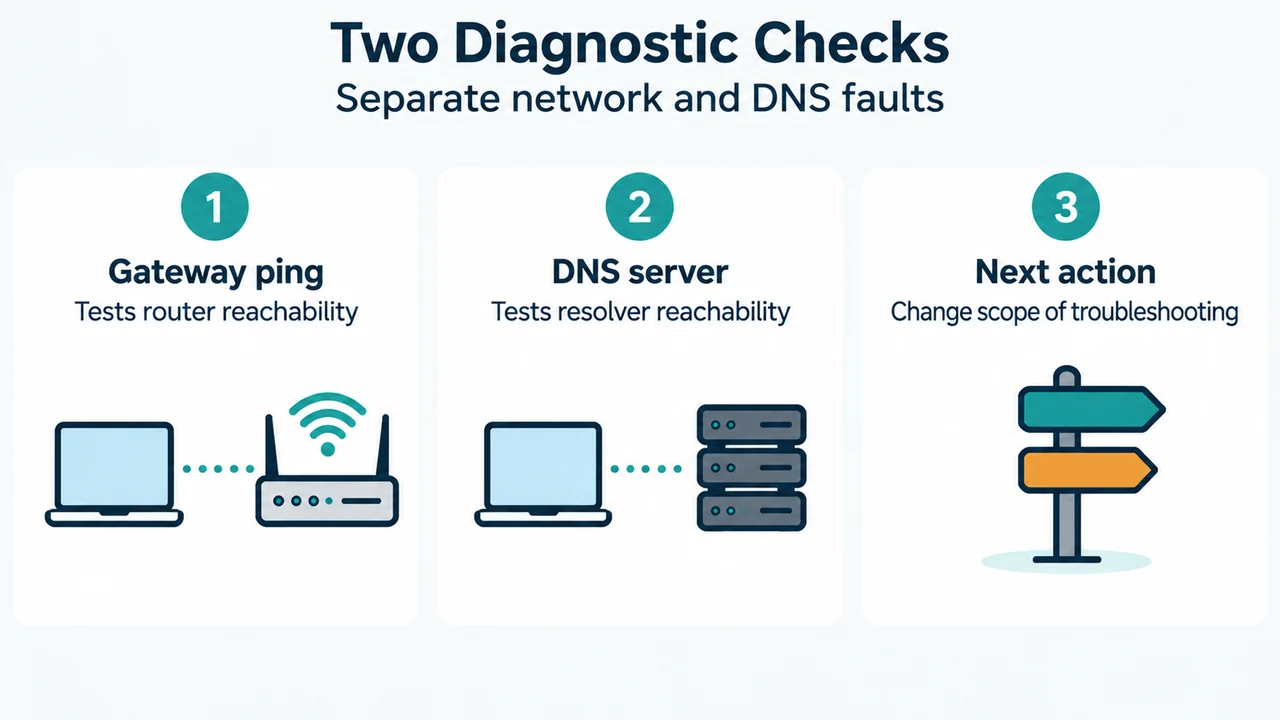
Text version of the diagrams
- Local Network vs Internet: PC to Wi-Fi — Connected to local network; Router gateway — Local reachability test; Internet service — Upstream access may fail
- Two Diagnostic Checks: Gateway ping — Tests router reachability; DNS server — Tests resolver reachability; Next action — Change scope of troubleshooting