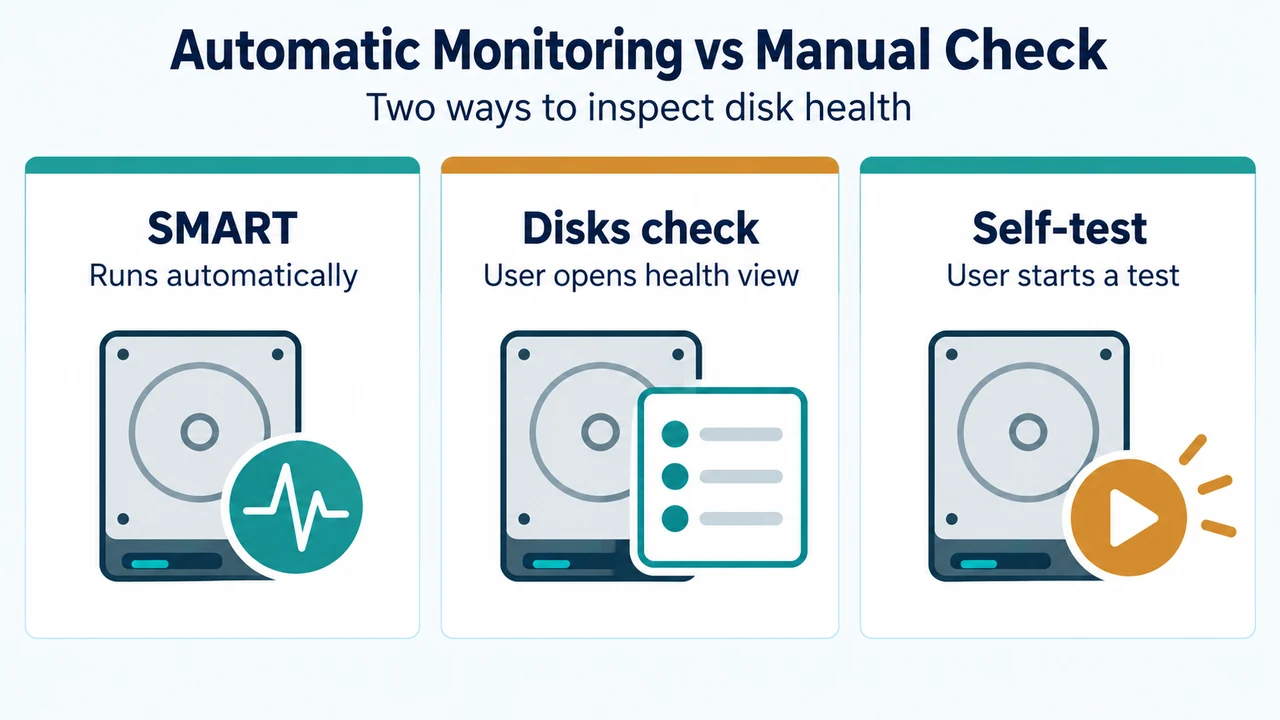
Hard disks include a built-in health-check tool called SMART (Self-Monitoring, Analysis, and Reporting Technology). SMART continually checks your hard disk for potential problems and warns you if the disk is about to fail, helping you avoid loss of important data. While SMART runs automatically, you can also check your disk’s health by running the Disks application in Ubuntu.
How to Check Drive Health in the Disks Application
To check disk health using the Disks application, complete the following steps:
- Open Disks from the Activities overview.
- Select the disk you want to check from the list of storage devices on the left. Information and status of the disk will be shown.
- Click the menu button and select SMART Data & Self-Tests….
- Check the Overall Assessment. The assessment should say “Disk is OK”.
- View more information under SMART Attributes, or click the Start Self-test button to run a self-test.
Interpreting Overall Assessment Statuses
Even if the Overall Assessment indicates that the disk is not healthy, there may be no cause for alarm. However, having a backup prepared helps prevent data loss:
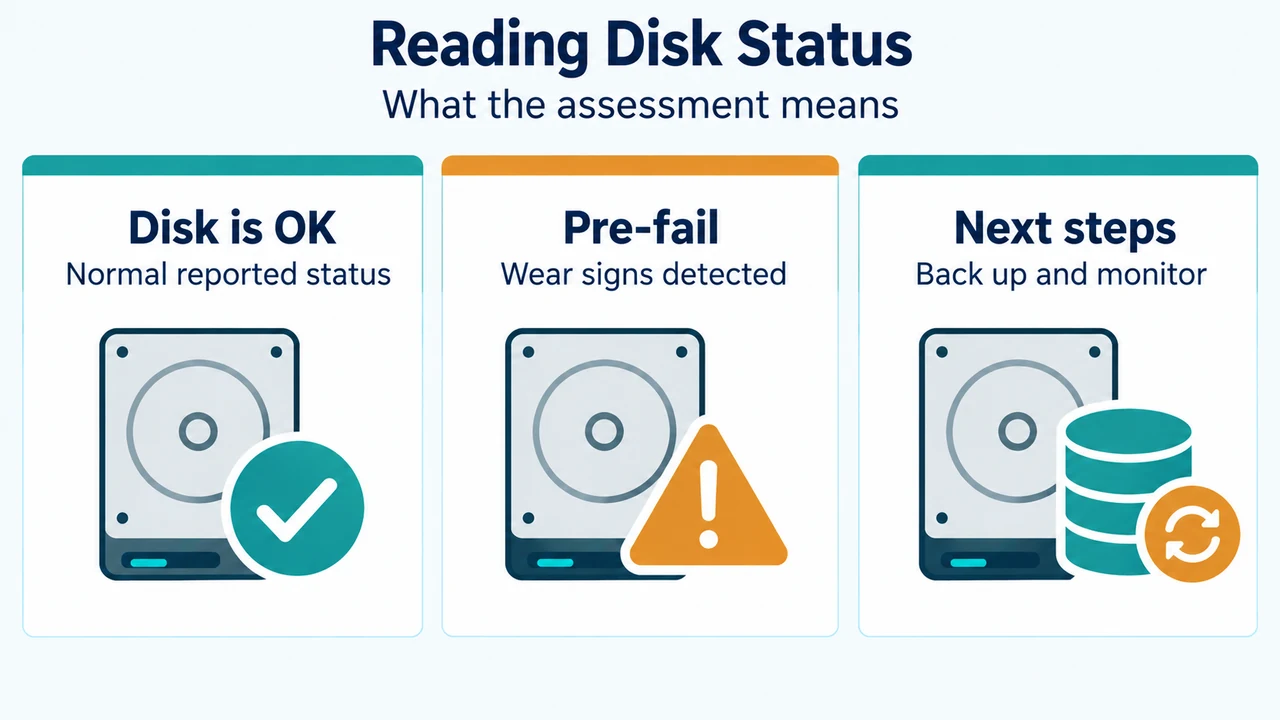
- Disk is OK: The overall assessment indicates normal disk status.
- Pre-fail: The disk is still reasonably healthy, but signs of wear have been detected that mean it might fail in the near future. If your hard disk or computer is a few years old, you are likely to see this message on at least some health checks.
Recommended Next Steps
If you observe signs of wear or want to maintain your system, use these supported precautions:
- Back up important files regularly: Maintain regular backups of your important files to prevent data loss.
- Check disk status periodically: Recheck the status periodically to see if it gets worse.
- Professional diagnosis or repair: If the disk status gets worse, you may wish to take the computer or hard disk to a professional for further diagnosis or repair.
Research Method and Limitations
This guide was prepared directly from the supplied public source excerpt from the Ubuntu Desktop Guide for Ubuntu 26.04. Competing coverage was unavailable for comparison. The documentation describes how to navigate the Disks application and check status values, but it does not specify whether running self-tests carries operational risks, nor does it detail specific backup destinations or individual SMART attribute thresholds.
Text version of the diagrams
- Automatic Monitoring vs Manual Check: SMART — Runs automatically; Disks check — User opens health view; Self-test — User starts a test
- Reading Disk Status: Disk is OK — Normal reported status; Pre-fail — Wear signs detected; Next steps — Back up and monitor