Audio playback issues in Windows can arise from incorrect output device selection, muted controls, disabled audio devices, pending system updates, or outdated drivers. Based on Microsoft’s troubleshooting documentation for Windows 11 and Windows 10, the diagnostic steps vary depending on your operating system version.
Check Speaker Output Selection and Volume Controls
Ensure that audio is routed to the intended device and that volume levels are not muted:
- Select output device (Windows 11 and Windows 10): Select the Speakers icon on the taskbar (if not displayed, select Show hidden icons in the overflow area). Select the arrow next to the volume slider (labeled Select a sound output on Windows 11) to view connected devices, and choose your preferred speaker or headphones.
- Unmute volume controls:
- Windows 11: Select the settings icon to the right of the Volume mixer slider (hover tooltip shows More mixer settings). If an item is muted, an “x” appears next to the volume control. Adjust the volume level or select the Unmute speakers icon.
- Windows 10: Right-click the Speakers icon on the taskbar and select Open Volume mixer. If muted, a red circle with a line through it appears next to the control; select it to unmute.
Inspect Audio Hardware and Physical Connections
Hardware and cabling issues can prevent sound output on both Windows 11 and Windows 10:
- Check speaker and headphone connections for loose cords or cables, and make sure all cables are plugged in.
- If using multiple audio jacks (such as on surround sound systems), ensure each cable is in the correct jack. Some systems use a green jack for output and a pink jack for microphone input, while others use “headphone” or “microphone” labels. If connections are unclear, consult the hardware manufacturer or test outputs one at a time.
- Make sure the external audio equipment is powered on.
Verify Device Properties and Default Output Selection
Windows will not play sound if the output device is disabled or if sound routes to a monitor without speakers:
- Verify device status:
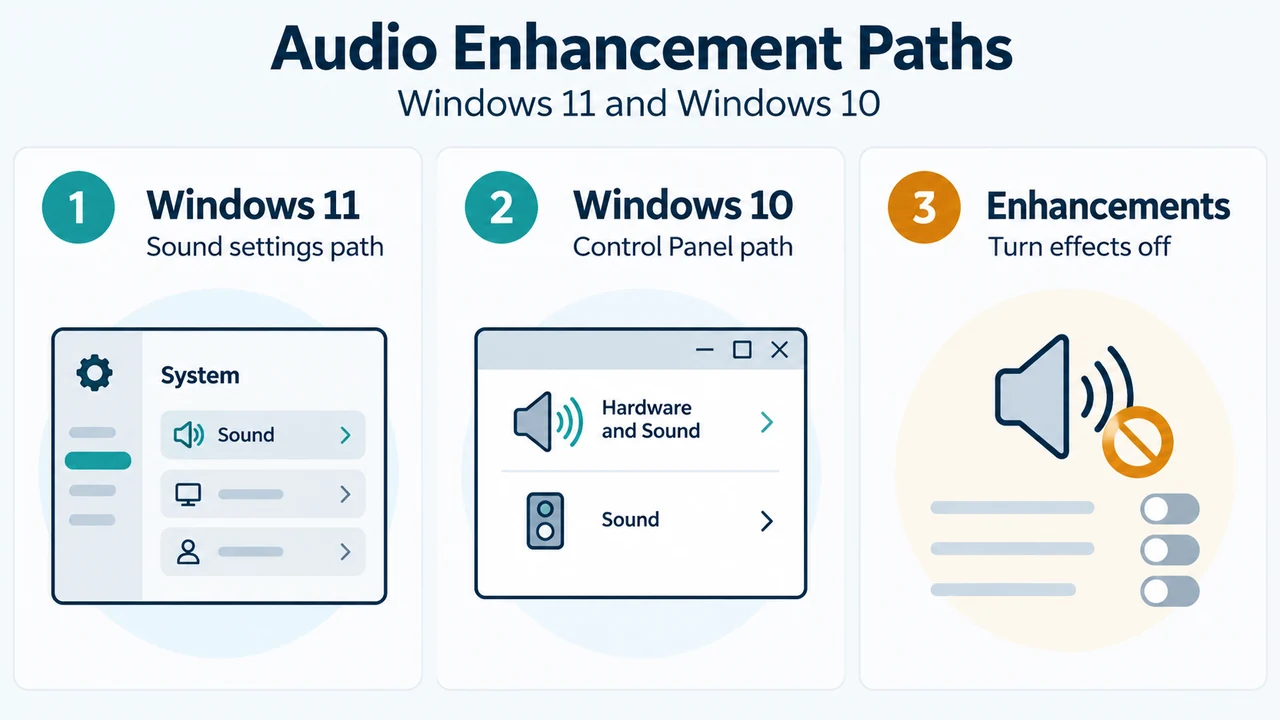
- Windows 11: Go to Start > Settings > System > Sound. Under Advanced, select More sound settings, choose the Playback (output) tab, select your audio device, and select Properties. Next to Device usage, verify that Use this device (enable) is selected, then select OK.
- Windows 10: Go to Start > Settings > System > Sound. Select your audio device, choose Device properties, and ensure the Disable checkbox is cleared.
- Set default audio device:
- Windows 11: Go to Start > Settings > System > Sound. In the Output section, select the desired device for playback, which also sets it as default.
- Windows 10: For USB or HDMI connections, ensure the appropriate device is set as default. For both versions, if connected to an external display without built-in speakers, verify that the monitor is not set as the default output device.
Run Version-Specific Audio Troubleshooters
Microsoft outlines specific troubleshooting tools depending on the operating system:
- Windows 10 Get Help automated troubleshooter: Microsoft advises starting with the automated audio troubleshooter in the Get Help app to run diagnostics and attempt automatic fixes.
- Windows 10 Settings troubleshooter: Go to Start > Settings > Update & security > Troubleshoot. Under Find and fix problems, select Playing audio, then select Run the troubleshooter.
- Windows 11: The documentation directs users through general troubleshooting steps—checking taskbar output, hardware cables, Sound settings, updates, and Device Manager—rather than the Windows 10 Get Help automated path.
Check Windows Update and Restart to Apply Updates
Pending system updates may include audio fixes and often require a full restart to apply:
- If updates are available, select Install now, choose the updates to install, and select Install.
- Save your work and close open applications.
- Select Start > Power.
- If installed updates are pending, select Update and restart or Update and shut down to apply them.
Update Audio Drivers via Device Manager
Outdated or malfunctioning drivers can lead to audio failures. The visible Microsoft documentation supports automatic driver updates via Device Manager:
- In the search box on the taskbar, type device manager and select it from the search results.
- Select the arrow next to Sound, video and game controllers to expand the category.
- Select and hold (or right-click) the listing for your sound card or audio device (such as headphones or speakers).
- Select Update driver, then select Search automatically for updated driver software.
- Follow the on-screen instructions to complete the update.
Note on advanced driver recovery: While Microsoft mentions uninstalling the driver, rolling back to an earlier version after updates, or using generic Windows audio drivers, detailed step-by-step procedures for those actions are truncated in the visible primary evidence.
Research Method and Limitations
This troubleshooting guide was prepared strictly from visible excerpts of Microsoft’s public documentation titled “Fix sound or audio problems in Windows.” No accessible competing coverage was available for comparative analysis. Because passages of the primary source are truncated—specifically regarding step-by-step driver uninstallation, rollback procedures, and generic driver installation—this guide covers only the driver update steps that are completely visible. In addition, user interface labels and settings paths are explicitly distinguished between Windows 11 and Windows 10 to reflect the version differences documented in the primary evidence.
Text version of the diagrams
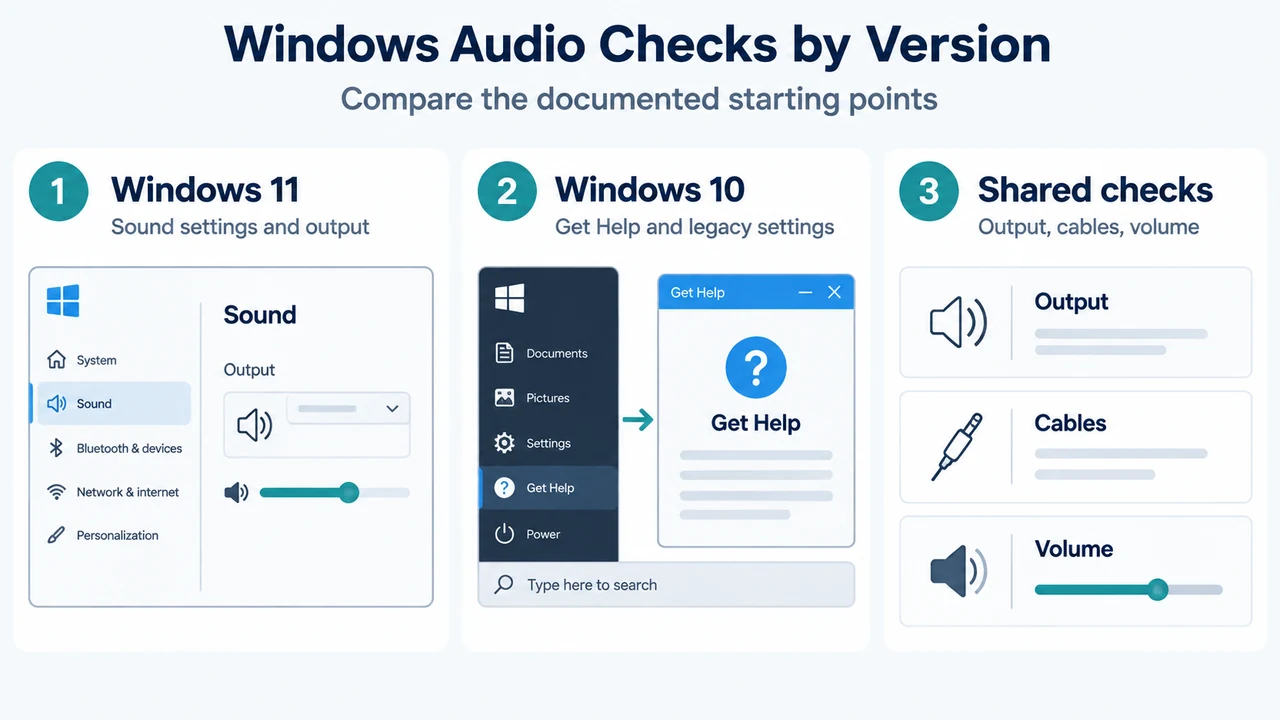
- Windows Audio Checks by Version: Windows 11 — Sound settings and output; Windows 10 — Get Help and legacy settings; Shared checks — Output, cables, volume
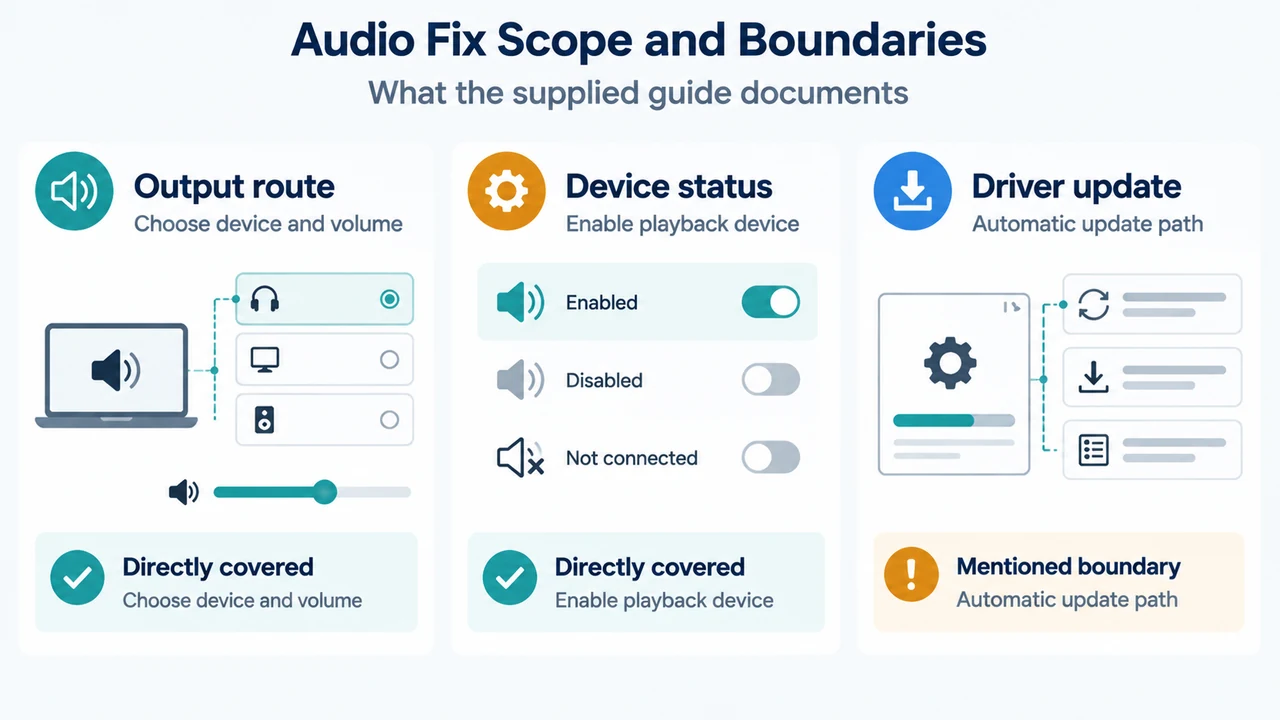
- Audio Fix Scope and Boundaries: Output route — Choose device and volume; Device status — Enable playback device; Driver update — Automatic update path