When encountering common printer problems in Windows 11 and Windows 10—such as print jobs stuck in the queue or spooler crashes—Microsoft provides a documented troubleshooting procedure to clear spooler files and restart the spooler service.
What the Print Spooler Does
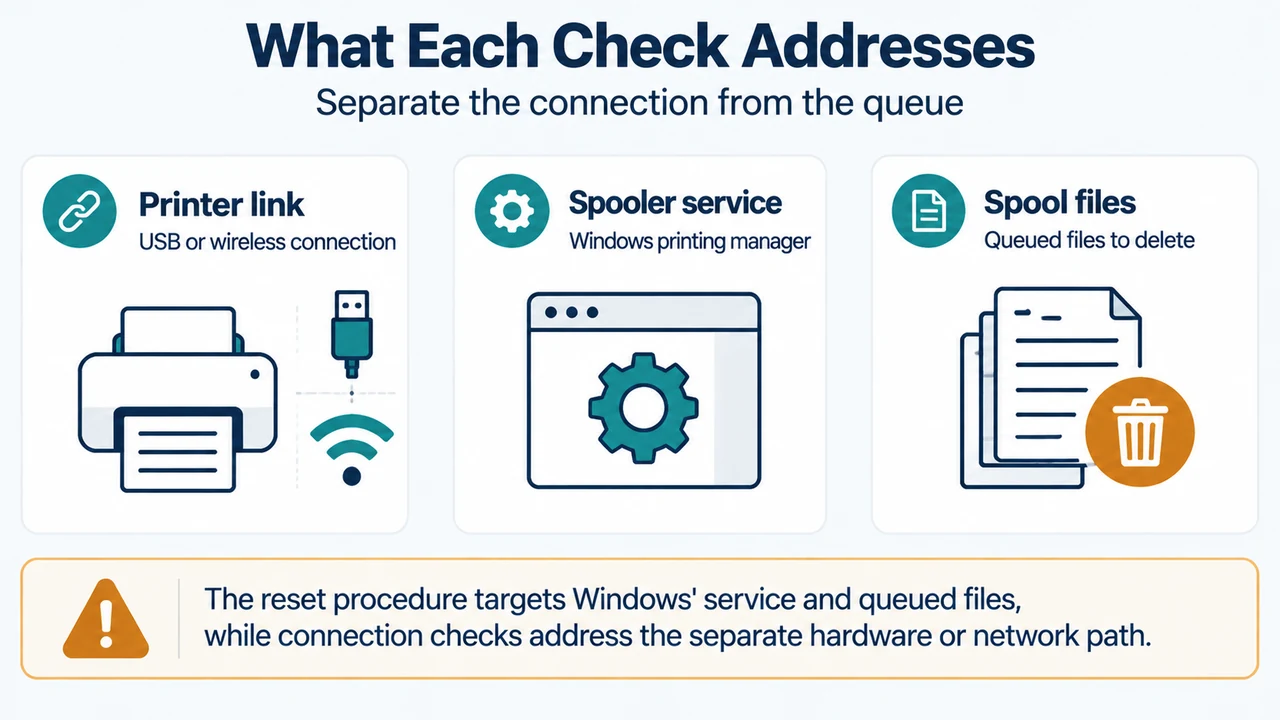
Microsoft’s documentation describes the print spooler as a file that manages the printing process, while managing it through the Windows Services console under the name Print Spooler.
Prerequisites and Initial Checks
Before clearing spooler files and restarting the service, Microsoft outlines initial diagnostic and general troubleshooting steps:
- Run the automated printer troubleshooter: In Windows 11 and Windows 10, start by running the automated printer troubleshooter in the Get Help app to run diagnostics and attempt to fix most printer problems automatically.
- Unplug and restart the printer: Turn off your printer and unplug it, wait 30 seconds, plug your printer back in, and then turn the printer back on.
- Check cables or wireless connection: For wired printers, make sure that the USB cable is properly connected from the printer to your PC. For wireless printers, verify network connectivity.
Step-by-Step: Clear and Reset the Print Spooler
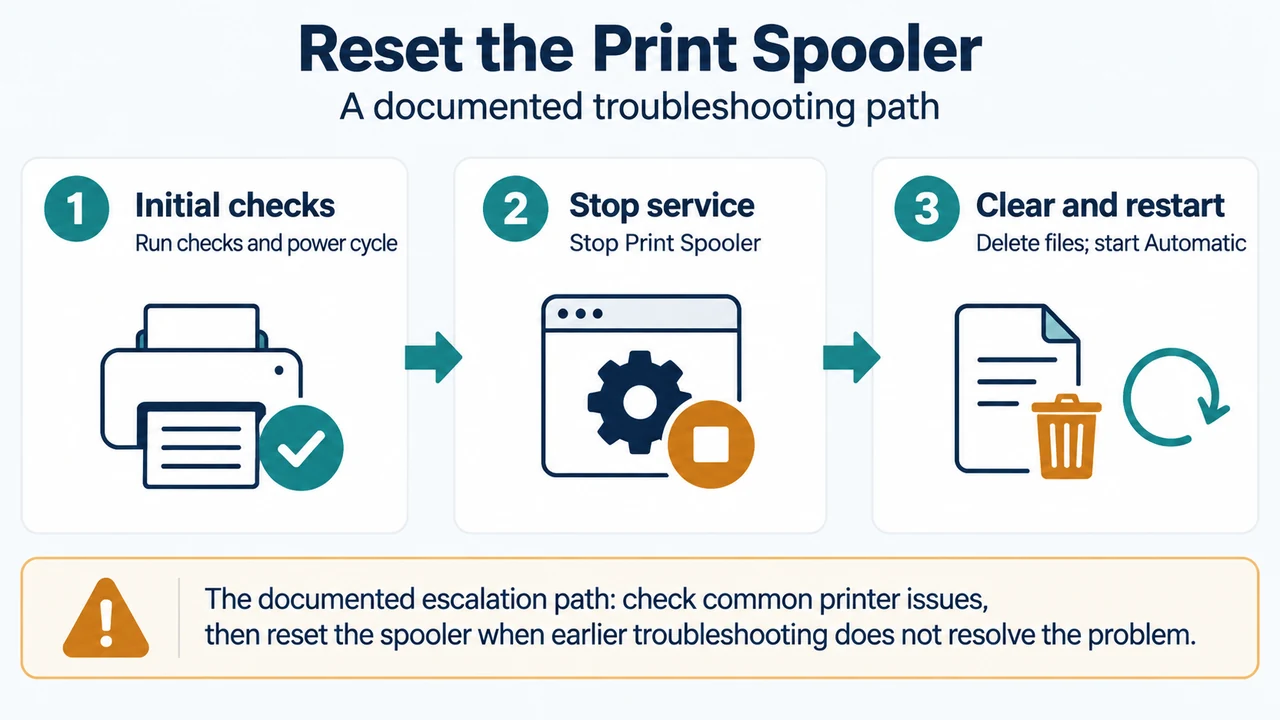
If previous troubleshooting steps do not resolve the issue, follow Microsoft’s documented procedure to clear spooler files and restart the spooler service:
Step 1: Stop the Print Spooler Service
- In the search box on the taskbar, type
services, and then select Services in the list of results. - Select the Standards tab, and then double-click Print Spooler in the list of services.
- Select Stop, and then select OK.
Step 2: Delete Spooler Files
- In the search box on the taskbar, enter
%WINDIR%\system32\spool\printers. - Select %WINDIR%\system32\spool\PRINTERS in the list of results.
- Delete all files in the folder.
Step 3: Restart the Service and Configure Startup Type
- In the search box on the taskbar, search for
services, and then select Services in the list of results. - Select the Standards tab, and then double-click Print Spooler in the list of services.
- Select Start.
- Select Automatic in the Startup Type box.
- Select OK.
Next Steps If Printing Still Fails
If your printer still does not work after completing these steps, Microsoft’s documentation instructs continuing to subsequent troubleshooting steps, such as changing a printer’s status to “online” if it displays an “offline” status.
Research Method and Limitations
This answer was prepared directly from the supplied public Microsoft support documentation excerpts covering printer connection and printing troubleshooting in Windows 11 and Windows 10. The supplied evidence consisted of truncated excerpts, leaving surrounding sections and unexcerpted troubleshooting topics unviewed. Competing coverage was unavailable for qualitative comparison. This guide does not rely on physical hardware testing, benchmarks, or undocumented mechanisms; it reflects only the explicit steps and explanations visible in the source excerpts.
Text version of the diagrams
- Reset the Print Spooler: Initial checks — Run checks and power cycle; Stop service — Stop Print Spooler; Clear and restart — Delete files; start Automatic
- What Each Check Addresses: Printer link — USB or wireless connection; Spooler service — Windows printing manager; Spool files — Queued files to delete