Check Microphone Privacy Settings in Windows 11
Microsoft documentation provides privacy permission checks as a troubleshooting step when experiencing microphone issues or when an app cannot access the microphone.
- Select Start > Settings > Privacy & security.
- Under App permissions, select Microphone.
- Ensure that Microphone access and Let apps access your microphone are both toggled On.
- If the issue occurs with a specific app, scroll down under Let apps access your microphone and verify that the toggle next to that specific application is also turned On.
Verify Recording Device Properties in Sound Settings
Microsoft documentation advises checking device properties to confirm that audio devices have not been disabled by mistake.
- Select Start > Settings > System > Sound.
- Under Advanced, select More sound settings.
- Select the Recording (input) tab.
- Select your input device and then select Properties.
- Next to Device usage, verify that Use this device (enable) is selected from the list.
Restart Windows Audio Services
Microsoft lists restarting background audio services as a standard troubleshooting step if earlier sound steps do not resolve the problem.
- In the search box on the taskbar, type
services, then select it from the results. - Select each of the following services, select and hold (or right-click), select Restart, and then select Yes:
- Windows Audio
- Windows Audio Endpoint Builder
- Remote Procedure Call (RPC)
Check for IDT High Definition Audio CODEC in Device Manager
According to Microsoft support documentation, some audio problems may be caused by an issue with an IDT High Definition Audio CODEC, which can be resolved by manually selecting a pre-installed generic driver. Not all systems have this codec.
- In the search box on the taskbar, type
device manager, then select it from the results. - Select the arrow next to Sound, video and game controllers to expand the group.
- Look for IDT High Definition Audio CODEC. If listed, select and hold (or right-click) it and select Update driver.
- Select Browse my computer for drivers, then select Let me pick from a list of available drivers on my computer.
- Select High Definition Audio Device from the list of pre-installed drivers, and select Next.
Research Method and Limitations
This troubleshooting guide was prepared directly from visible excerpts of the public Microsoft Support article “Fix sound or audio problems in Windows.” No hands-on testing or hardware benchmarks were conducted. Coverage is subject to material limitations: the supplied primary evidence is truncated, and competing coverage was unavailable for comparison. Because portions of the source article are truncated, unseen sections of the source documentation were not evaluated.
Text version of the diagrams
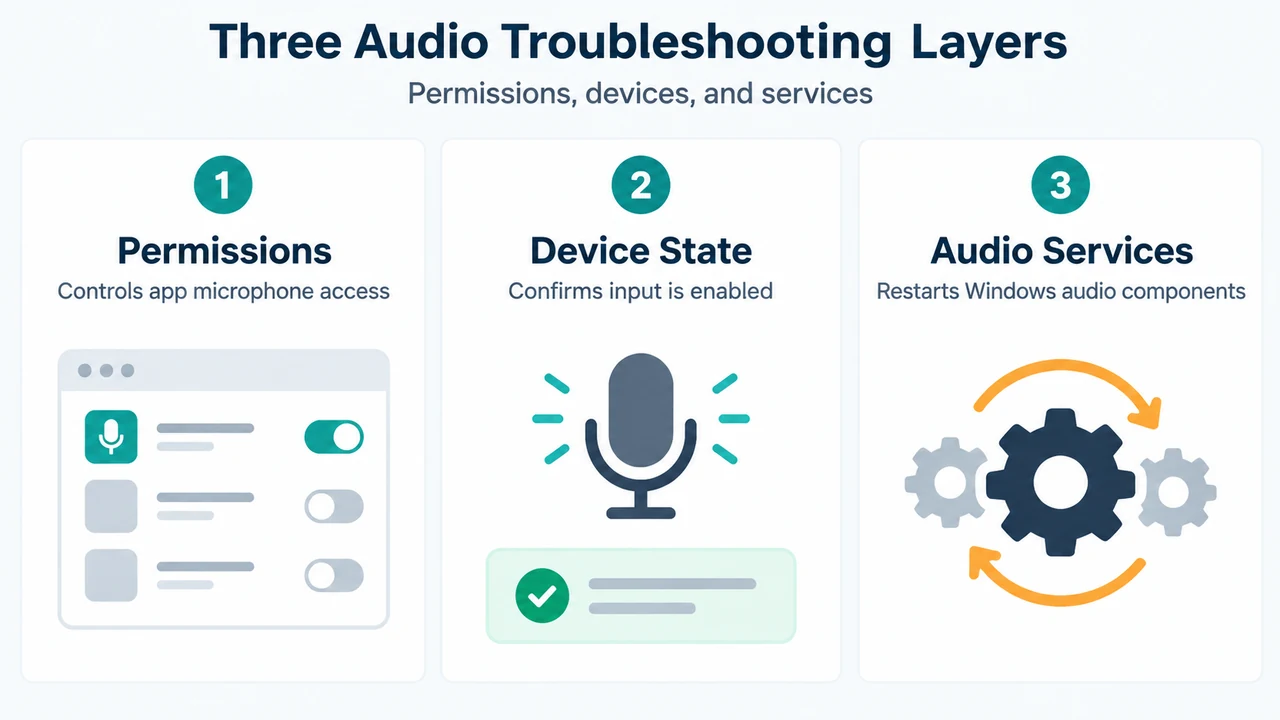
- Three Audio Troubleshooting Layers: Permissions — Controls app microphone access; Device State — Confirms input is enabled; Audio Services — Restarts Windows audio components
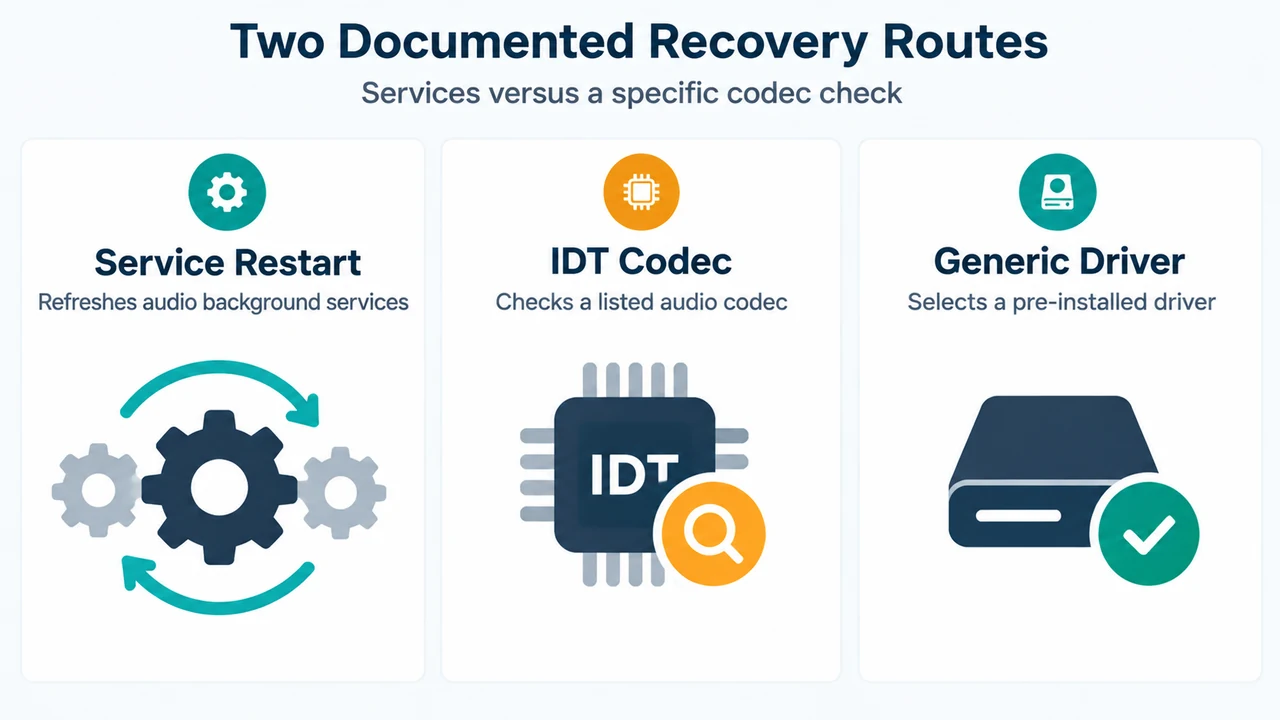
- Two Documented Recovery Routes: Service Restart — Refreshes audio background services; IDT Codec — Checks a listed audio codec; Generic Driver — Selects a pre-installed driver